Updating a Debian Based IoT Fleet with Mender
| Update - Debian Buster - 23. August 2019 |
|---|
| Debian buster got released more than one month ago. As usual it is another great release and therefore I decided to upgrade edi-pi to buster. |
It is great to see that Debian/Raspbian/Ubuntu gets more and more popular in the space of IoT. Even the biggest companies like Microsoft adopt the Debian based operating systems.
As I am doing quite a lot of research in this area, I always wondered if those companies have robust update strategies for their edge devices.
I believe that package based updates with apt are possible to some degree with the following limitations:
- After some years of upgrading the device we might end up with a pretty unknown deployment state due to the long incremental upgrade history.
- Apt based package updates are not fully transactional and therefore we have no built-in fallback strategy that allows us to go back to the last known working state in case we hit an issue during the update.
- During a release upgrade (e.g. from stretch to buster) we might encounter some edge cases that we have never tested.
Canonical is pushing Ubuntu Core and this operating system is built upon a robust update mechanism.
However, I wanted to bring such a robust update mechanism into my personal Debian based project. During my professional career I already developed such an update mechanism and from the gained experience I know that it is a complex endeavor. Therefore it was clear to me that I will base my solution upon a well thought out open source project instead of developing my own solution again. After a through evaluation phase I came to the conclusion that Mender is a great match for my project. The key selling points were simplicity of the solution, good documentation, a matching management interface, fully open source code and a good unit test coverage.
There is even a very valuable tool available that turns a Raspbian image into a Mender compliant image. I used this as a starting point to get to know how I can add the Mender update mechanism to my personal project.
After inspiring discussions and some days of work it is now possible to easily generate a Debian buster image for the Raspberry Pi 2 or 3 that comes with full Mender update support!
Here is how you can build the OS image and a corresponding Mender update artifact:
Building the OS Image and the Mender Update Artifact
First you will need to install the tool edi according to
this instructions.
Please take a careful look at the “Setting up ssh Keys” section in order to be able to access your device by means of ssh.
The OS image build requires the installation of some additional tools:
sudo apt install e2fsprogs dosfstools bmap-tools mtools parted
To generate the Mender update artifact, the mender-artifact tool is required.
Unfortunately it did not make it into the Ubuntu Bionic apt repositories.
Luckily this package comes with a small number of dependencies and therefore it
is without risk to
download it from Debian
and install it on Ubuntu Bionic:
sudo dpkg -i mender-artifact*.deb
If you would like to try out the full update capabilities, please sign up for a hosted Mender account. After a successful login you need to retrieve the tenant token (click on your user name in the upper right corner, choose “Settings” and select “My organization”).
Now you can clone the edi-pi project configuration repository from GitHub:
git clone https://github.com/lueschem/edi-pi.git
cd edi-pi
To get connected to your tenant you have to add your tenant token to your image build:
vi configuration/mender/mender.yml
Please enter your tenant token like this:
mender_tenant_token: YOURTENANTTOKENRETRIEVEDFROMHOSTEDMENDER
That’s it, now you can generate the full OS image and the Mender update artifact:
| Important Note |
|---|
| OS image generation operations require superuser privileges and therefore you can easily break your host operating system. Please ensure that you have a backup copy of your data. |
sudo edi -v image create pi23-buster-armhf.yml
The resulting OS image can be copied to an unmounted SD card (here /dev/mmcblk0) using the following command:
| Important Note |
|---|
| Everything on the SD card will be erased! |
sudo bmaptool copy artifacts/pi23-buster-armhf.img /dev/mmcblk0
Once you have booted the Raspberry Pi 2 or 3 using this SD card you can access it using ssh (the access should be granted thanks to your ssh keys):
ssh pi@IP_ADDRESS
or via local login using keyboard and monitor (the password for the user pi is raspberry).
Triggering an Over the Air (OTA) Update
Now we come to the fun part: Instead of removing the SD card from the Raspberry Pi and rewriting it we want to trigger an OTA update!
First we have to go back to our hosted Mender instance and “accept” our new device.
Mender is a clever software and if we would upload the update artifact we have created before and try to deploy it to our device it would just figure out that you have already the correct image version installed and skip the update.
As a shortcut we now create an image with a slightly updated timestamp:
sudo edi -v image create --clean pi23-buster-armhf.yml
sudo edi -v image create pi23-buster-armhf.yml
Now we are ready to upload the Mender update artifact (see artifacts/pi23-buster-armhf.mender)
to our hosted Mender instance and to deploy it to our
Raspberry Pi.
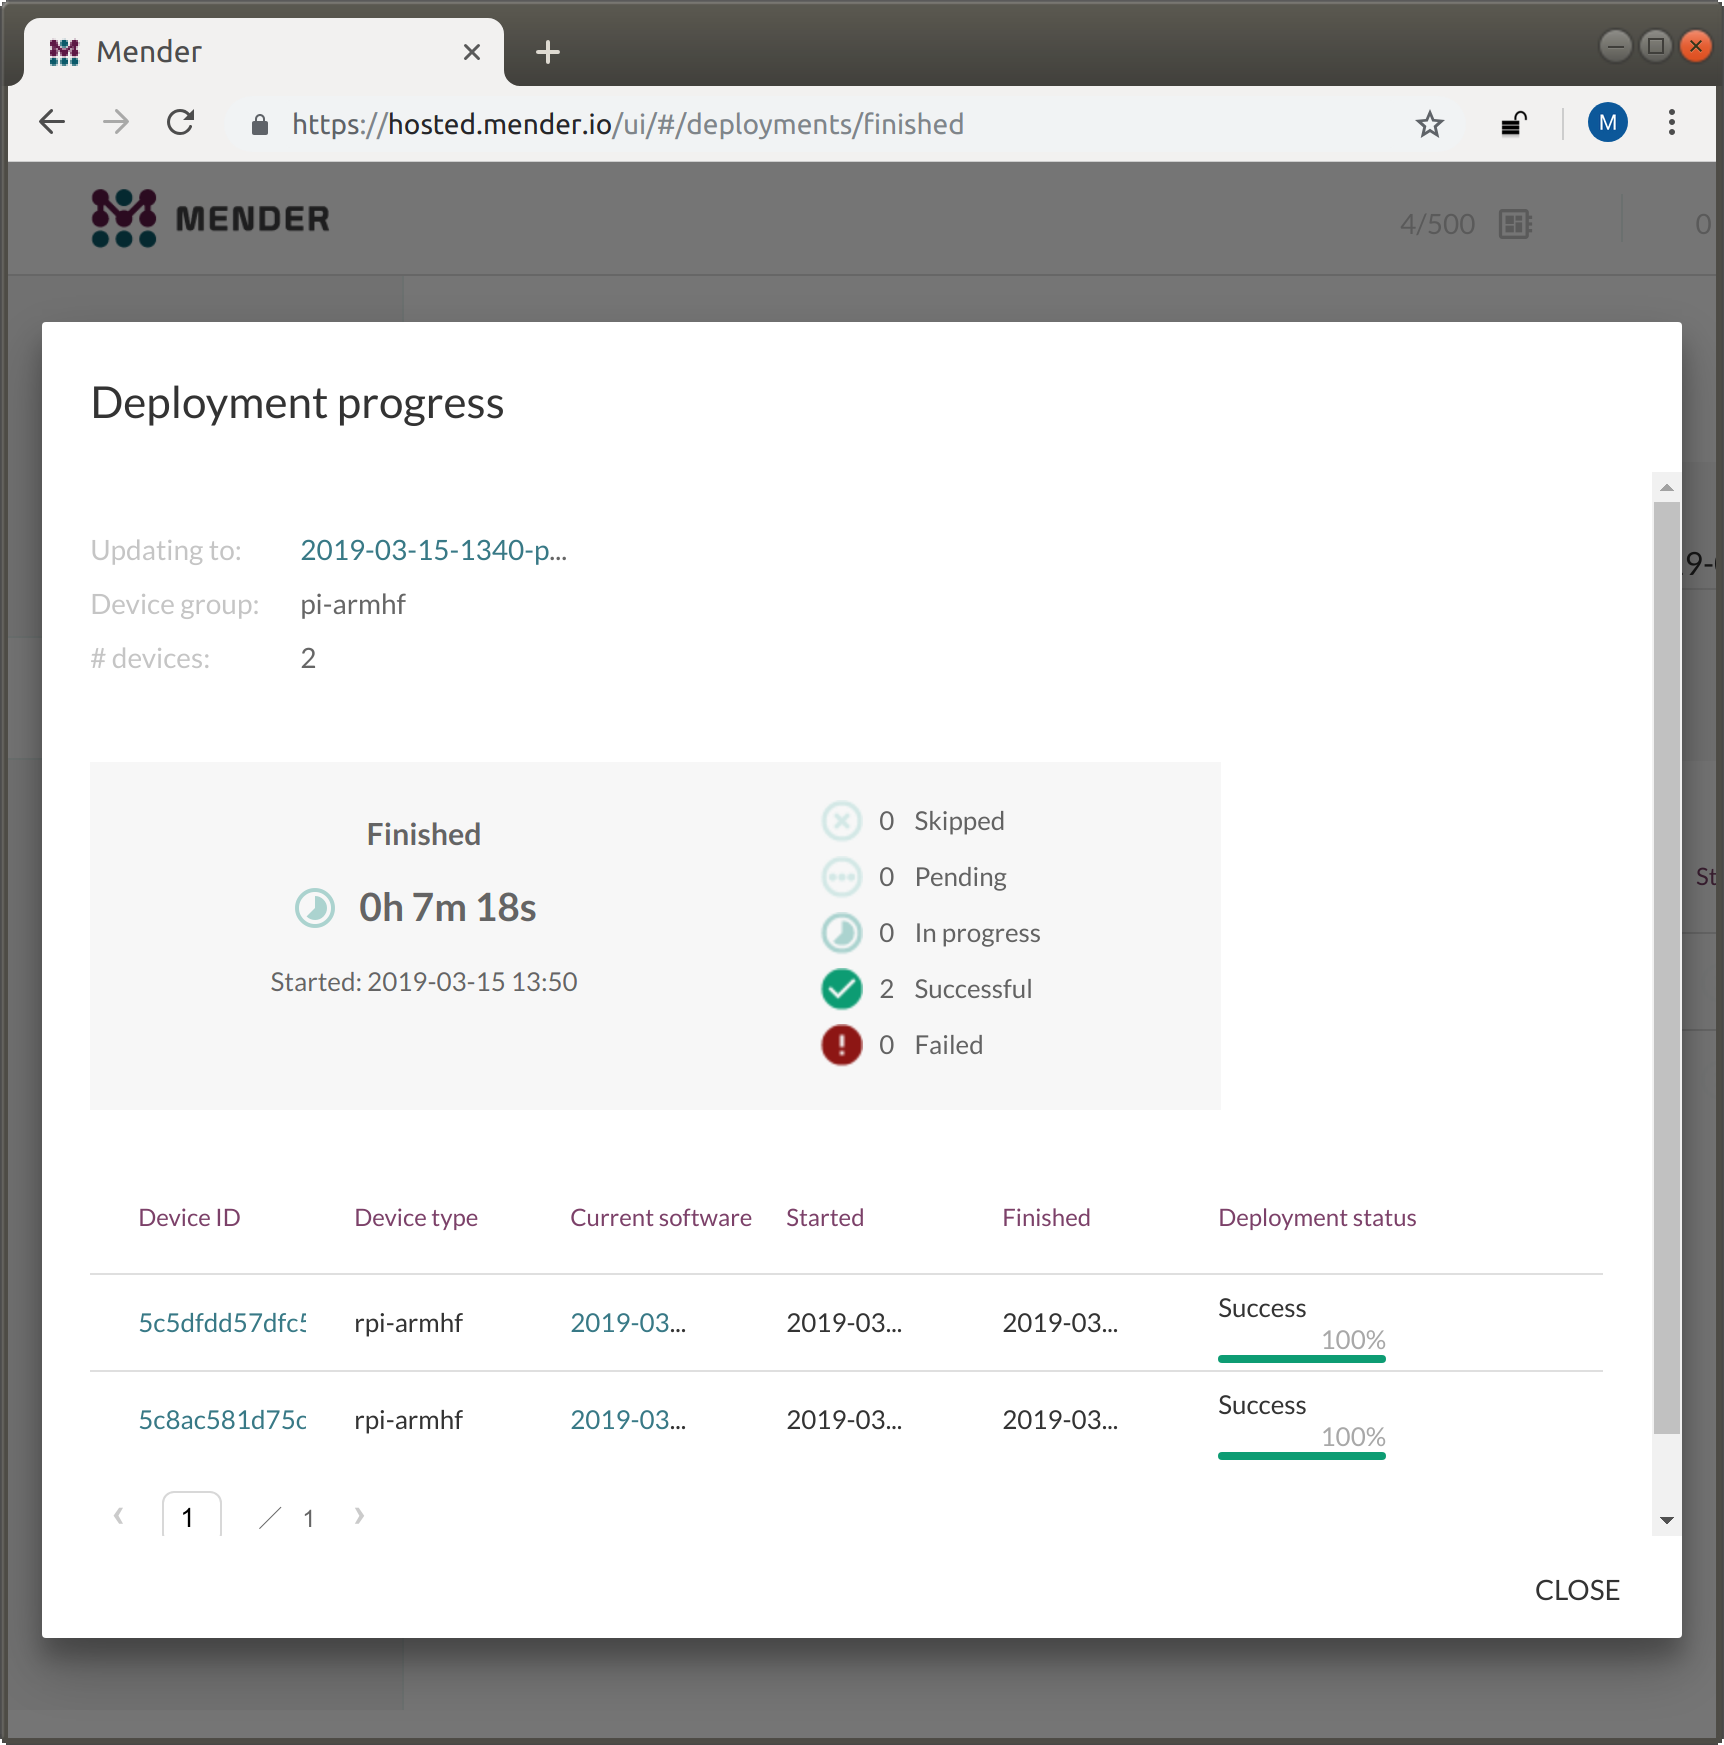
After some minutes our Raspberry Pi has booted into our new OS deployment:
Conclusion and Acknowledgement
The people at Mender have really done a great job in developing a robust A/B update solution! If you would like to learn more about it then their documentation is a good starting point.
I have spent quite some time on a clean and clever Debian integration. The solution includes the following benefits:
- It enables a hybrid update strategy (Mender for major image based upgrades, apt for minor package based updates).
- It can easily be adapted for other embedded hardware.
- A Mender update artifact gets directly built alongside the full OS image.
- The partitions get automatically adjusted according to the available disk space.
- Upstream Debian kernel packages can be directly used thanks to this U-Boot integration.
- There is no ultimate need for patching U-Boot (the required bootcount logic is handled
within the primary boot script (
boot.scr). - The same configuration can be used to generate a matching cross compilation toolchain (see also this blog post).
- The functionality of the generated OS image can be easily enhanced according to a specific use case.
I hope that this blog post is a small contribution to a more robust and safer IoT world where the devices get upgraded more frequently!
Leave a comment